Tips for Applying Semi Cured Gel Nail Wraps with Ease
Are you someone who loves to have beautiful, salon-quality nails but finds it difficult to achieve the same results at home? Look no further! In this article, we will give you some valuable tips for applying semi cured gel nail wraps with ease, so you can have flawless manicures without leaving your house.
What are Semi Cured Gel Nail Wraps?
Semi cured gel nail wraps are a revolutionary alternative to traditional nail polish. They are made from a thin sheet of gel that is applied to the nails and then cured under a UV or LED lamp. These wraps come in various sizes and designs and are a great solution for those who want long-lasting, chip-free nails.
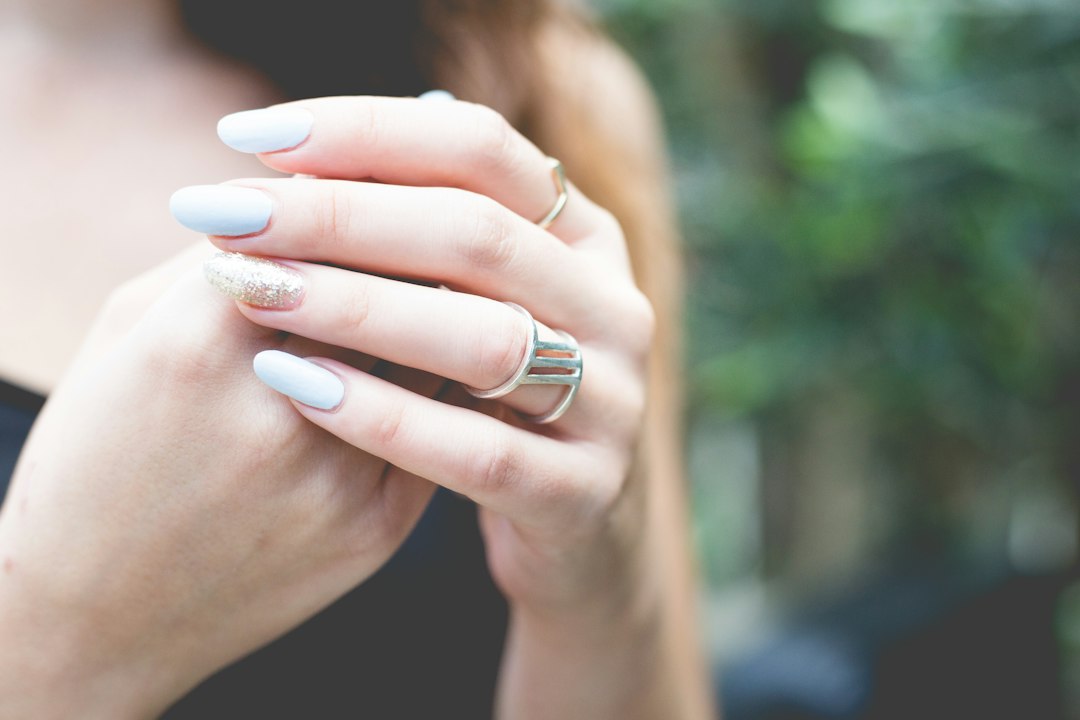
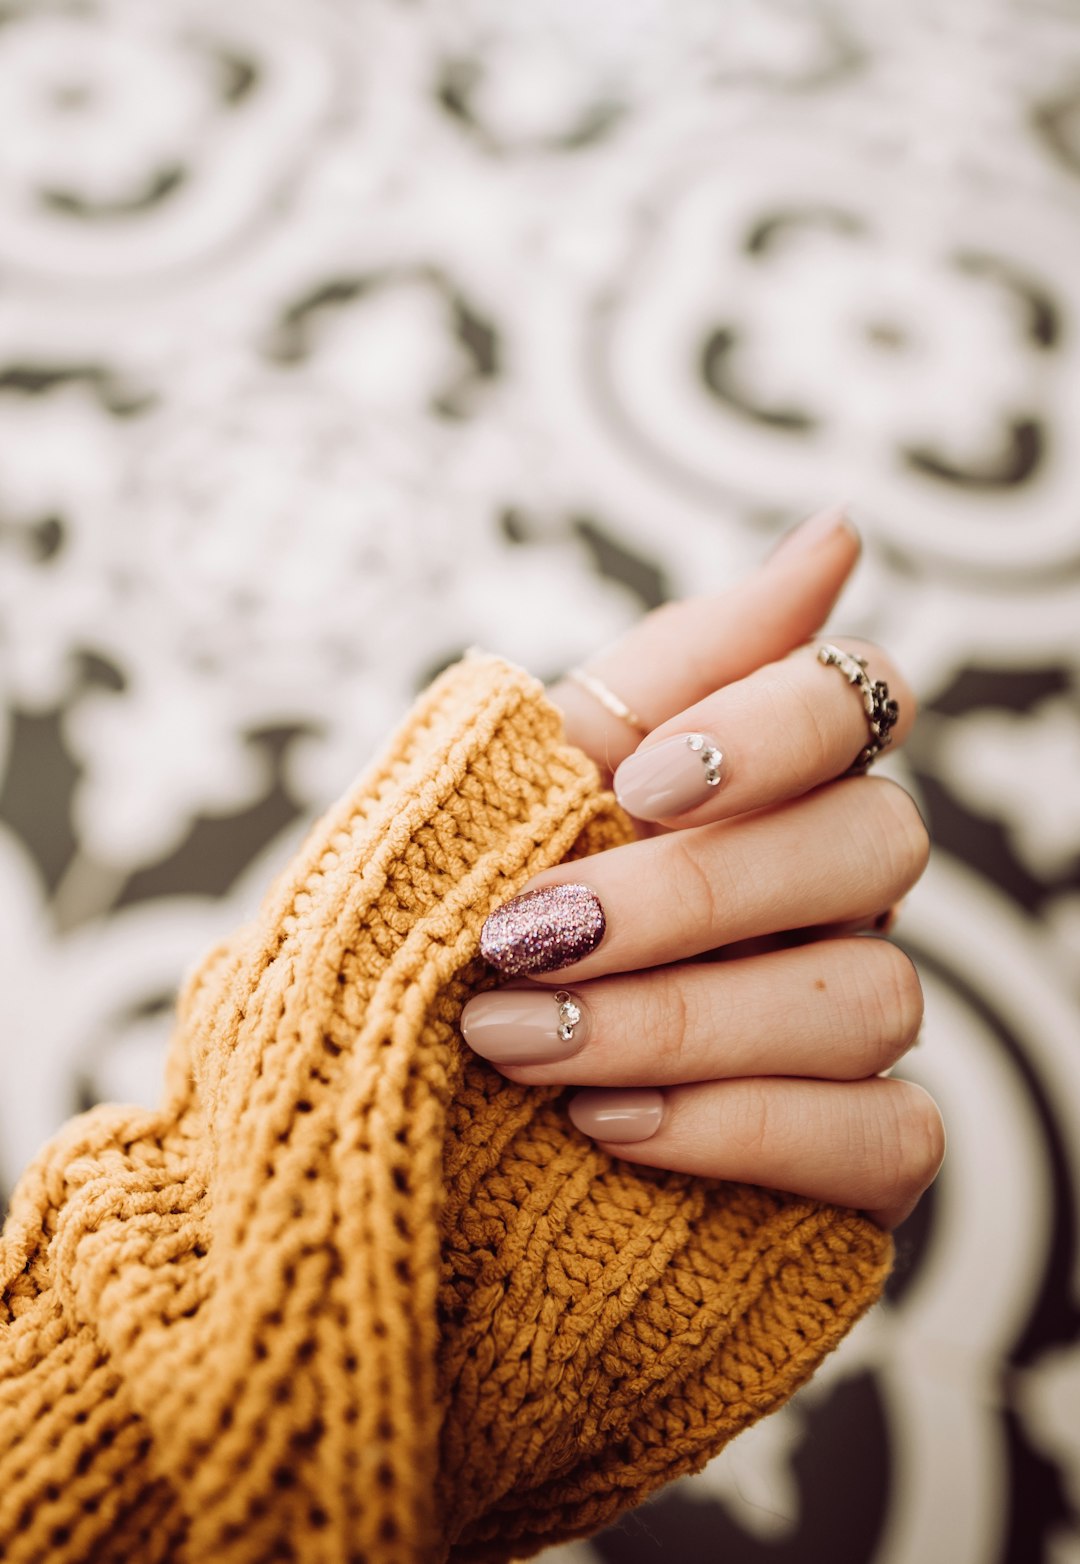
Not only are semi cured gel nail wraps easy to apply, but they also provide a perfect canvas for nail art enthusiasts. You can choose from a wide range of designs, including glitter, floral patterns, and geometric shapes, to suit your personal style.
Tips for Applying Semi Cured Gel Nail Wraps
1. Prepare Your Nails
Before applying semi cured gel nail wraps, it is essential to prepare your nails properly. Start by removing any existing nail polish and filing your nails to your desired shape. Push back your cuticles gently and buff the surface of your nails to create a smooth canvas.
2. Cleanse Your Nails
Once you have prepared your nails, cleanse them with a nail cleanser or rubbing alcohol to remove any dirt, oil, or residue. This step is crucial as it ensures the wraps adhere well to your nails and last longer.
3. Select the Right Size
When choosing the right size of semi cured gel nail wraps, it is important to select the wrap that fits your nail bed perfectly. Wraps that are too small or too big may not adhere properly and can cause lifting or wrinkling.
4. Peel Off the Backing
After selecting the correct size, gently peel off the backing from the wrap. Be careful not to touch the adhesive side with your fingers to maintain its stickiness.
5. Apply the Wrap
Align the rounded edge of the semi cured gel nail wrap with your cuticle and slowly press it down from the base to the tip of your nail. Smooth out any air bubbles or wrinkles with a cuticle pusher or a clean, lint-free cloth.
6. Trim and File
Once the wrap is applied, trim off any excess material using a nail clipper or a small pair of scissors. Then, file the wrap in a downward motion to remove any rough edges and shape it to fit your natural nail shape.
7. Cure the Wraps
After applying and trimming the wraps, it's time to cure them. Place your nails under a UV or LED lamp for the recommended time indicated by the manufacturer. This step ensures that the wraps adhere properly and provide a long-lasting finish.
8. Apply Top Coat
To seal the wraps and add extra shine and durability, apply a layer of top coat over the entire nail. Make sure to cap the free edge of your nail to prevent chipping.
9. Avoid Excess Water
After applying the semi cured gel nail wraps, it's best to avoid excessive water exposure for the first few hours. This precaution will allow the wraps to fully adhere and last longer.
10. Maintain and Remove
Maintaining your semi cured gel nail wraps is easy. Simply avoid harsh chemicals and excessive use of hand sanitizers. When you're ready to remove them, gently peel off the wraps from the base of your nail to the tip, or use a gel nail wrap remover.
Conclusion
Now that you are armed with these valuable tips, applying semi cured gel nail wraps will be a breeze. Not only will you save time and money, but you will also have stunning nails that last for weeks. So, why wait? Get your hands on some high-quality semi cured gel nail wraps and enjoy beautiful, salon-worthy nails in the comfort of your own home!


