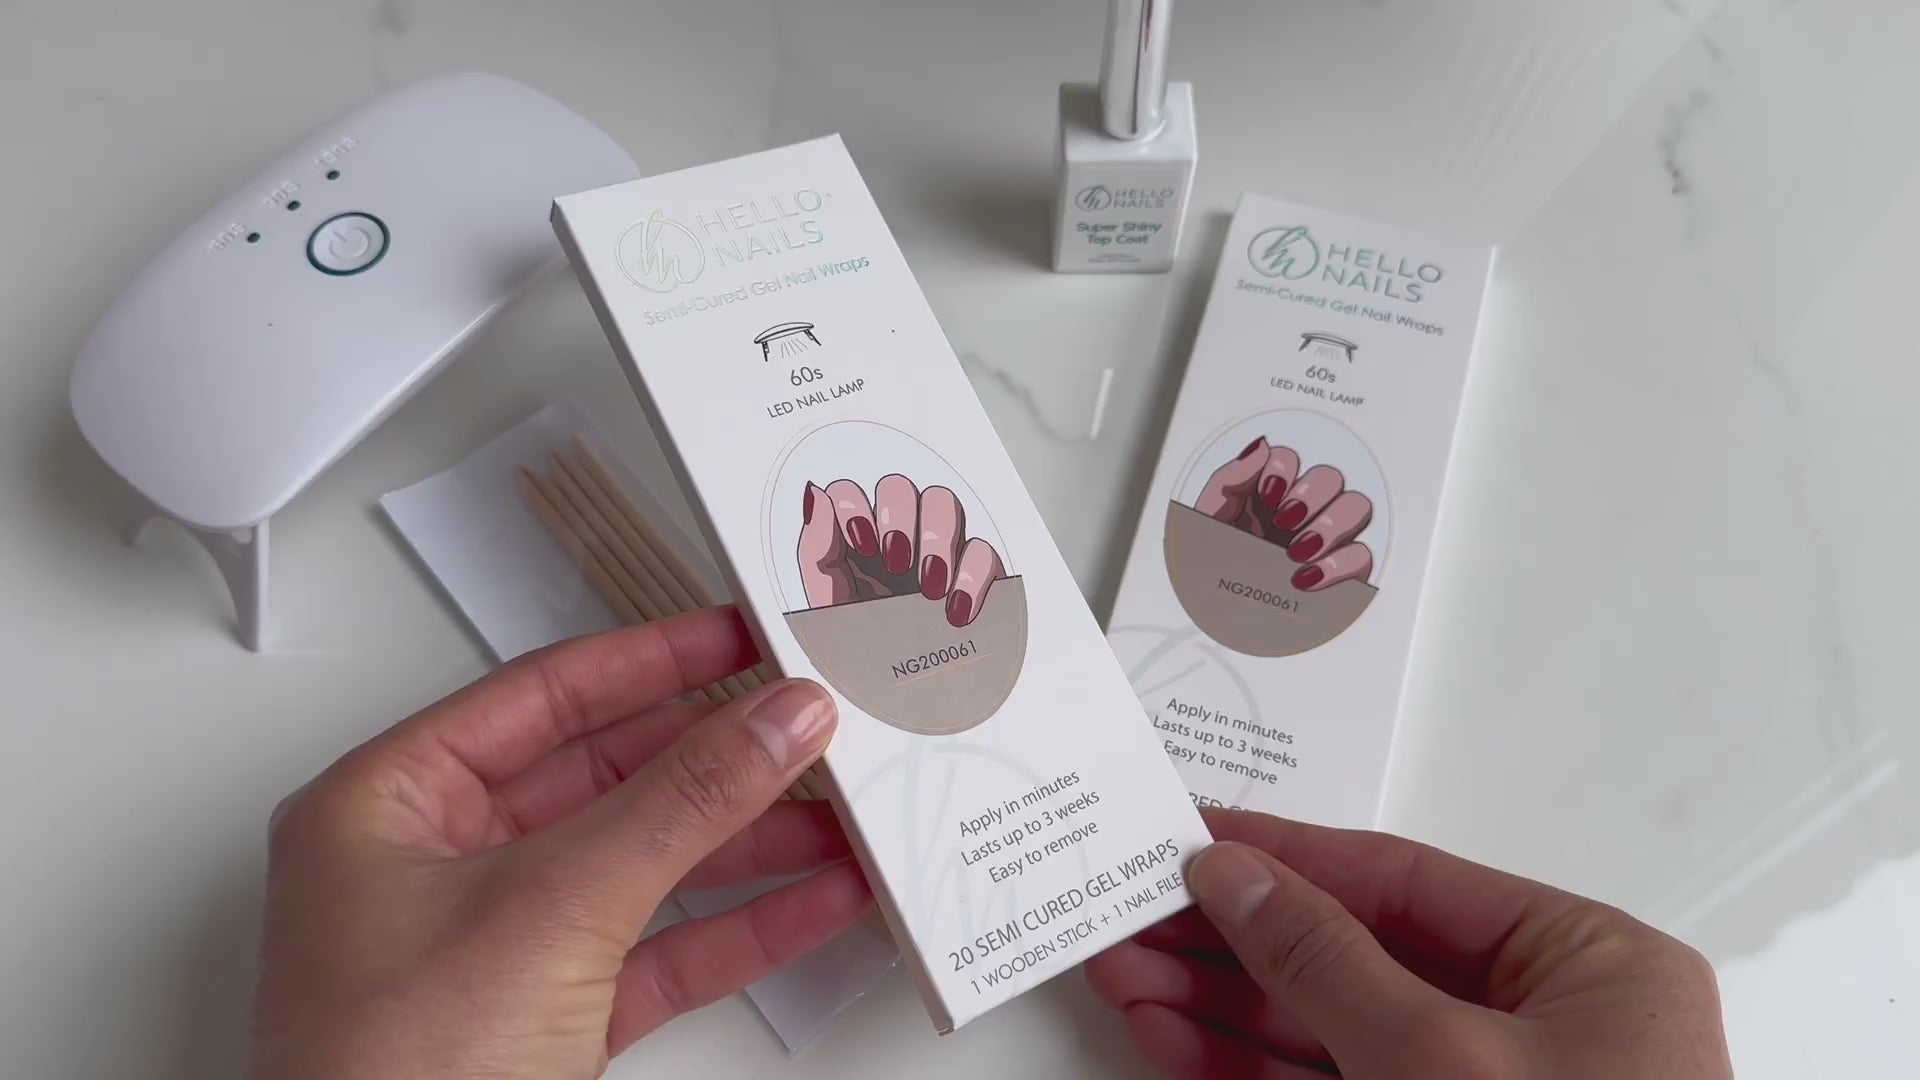
How to apply semi cured gel nail wraps
The newest entry on the home manicure scene, Semi Cured Gel Wraps are the highest quality wraps we offer. Made from gel and cured with a UV lamp.
Please note: they're not designed to be used as extensions, so they won't last as long if you make them larger than your natural nails.
The most common reason nail wraps do not stick in winter is the cold. Cold hands and cold wraps both affect adhesion. Before applying, gently warm your hands and the wraps with a hairdryer. This activates the adhesive and makes the wraps much stickier. Applying cold wraps to cold hands will almost always lead to lifting.
These should last up to 3 weeks if correctly applied and depending on how careful you are with your nails.
- Make sure your nails and nail bed are totally clean from any cuticle residue or oil before applying your wraps. We stock packs of 100 alcohol wipes on the store which are perfect for this. They're available here.
- To get a better fit you can cut your wraps or gently stretch the wraps with your fingers before applying them.
- Warming them (and your hands) slightly with a hairdryer can help to make the adhesive stickier, especially if it’s cold or very warm, or the wrap itself has been stored somewhere cold. I do this every time I apply.
- Darker wraps are more naturally resistant to UV and may need curing for longer than 60 seconds.
- Wraps containing glitter are thicker, and may need curing for longer than 60 seconds.
- Make sure the wraps are placed close to your cuticle and not on or touching it.
- Avoid contact with water during the first 2 hours of curing your gel wraps
- Store unused gel nail strips in the original black packaging, sealed with tape, and in original box make sure to keep them out of the air and light in a drawer. Any contact with air and light will cause them to cure over time.
- Keep away from direct sunlight
- You can apply a UV top coat for an extra shine. When using top coats apply and cure in layers, so cure your wraps first, then apply and cure the top coat.
- To protect your nails when they are done I recommend to wear gloves for washing up
- Not all UV lamps are the same - depending on your UV lamp you might have to cure for longer to get the maximum hardness. Our 12w lamps cure in 60 seconds, but you can repeat that twice more to make absolutely sure they’re completely hard. If using your own lamp, which may be less powerful than the one we supply, it's worth curing for 120-180 seconds.
- To remove them please don't just peel them off, as you may damage your nails. Use a cuticle stick with cuticle oil and gently work them away from your nail. If you don't have these already, we stock both in our Accessories collection.
- Like all products, they do have shelf-life, even if kept unopened in the packaging, so you should use them within 9 months for best results.
Common Issues (and how to avoid them!)
- The layers are delaminating. This is generally caused by the top layer being cured, but the bottom layer not being cured enough. This especially affects darker colours, as they absorb less UV light. To avoid this, make sure you cure fully until completely hard and set - this may take between 120-180 seconds depending on temperature and the lamp.
- They don't stick. Warm them with a hairdryer before application and ensure they adhere. Make sure your nails and nail bed are totally clean from any cuticle residue or oil before applying your wraps. Don't touch them unnecessarily while applying. Store them in a place that's dark, not too warm and out of the sunlight. Sets containing glitter can be a little thicker, and darker colours are naturally more resistant to UV so may need curing a bit longer. But most of all in colder weather or if the wrap is cold, warming them with a hairdryer first helps to make them a lot sticker - really helps with application.
- They're not pliable enough. Warm them with a hairdryer to soften them before application and ensure they adhere.
- They're falling off. It's likely that they weren't adhered to your nails fully. Make sure to follow all the advice above in preparing your nails, and make sure you cure them for long enough so that they're fully cured.
Following all of this advice will help to achieve a good application that lasts.
Featured collection


