
How to Get Cat Eye Nails at Home Without a Magnet | Hello Nails UK
Cat eye nails have a magnetic shimmer that catches the light. Traditional magnetic polish requires a steady hand, a magnet, and several attempts to get right. The effect often looks messy or uneven.
There is a simpler way.
The Problem with Magnetic Polish
Magnetic gel polish needs a magnet to create the signature cat eye line. The magnet must be held close to the nail for several seconds while the polish is still wet. This creates several issues:
- The magnet can smudge the polish if held too close
- The line often looks uneven or broken
- Multiple attempts are needed to get the effect right
- The process is messy and time-consuming
- Practice is required to master the technique
For many people, the result is inconsistent. The shimmer might be weak, the line might be off-centre, or the polish might lift prematurely.
The Solution: Semi-Cured Gel Wraps
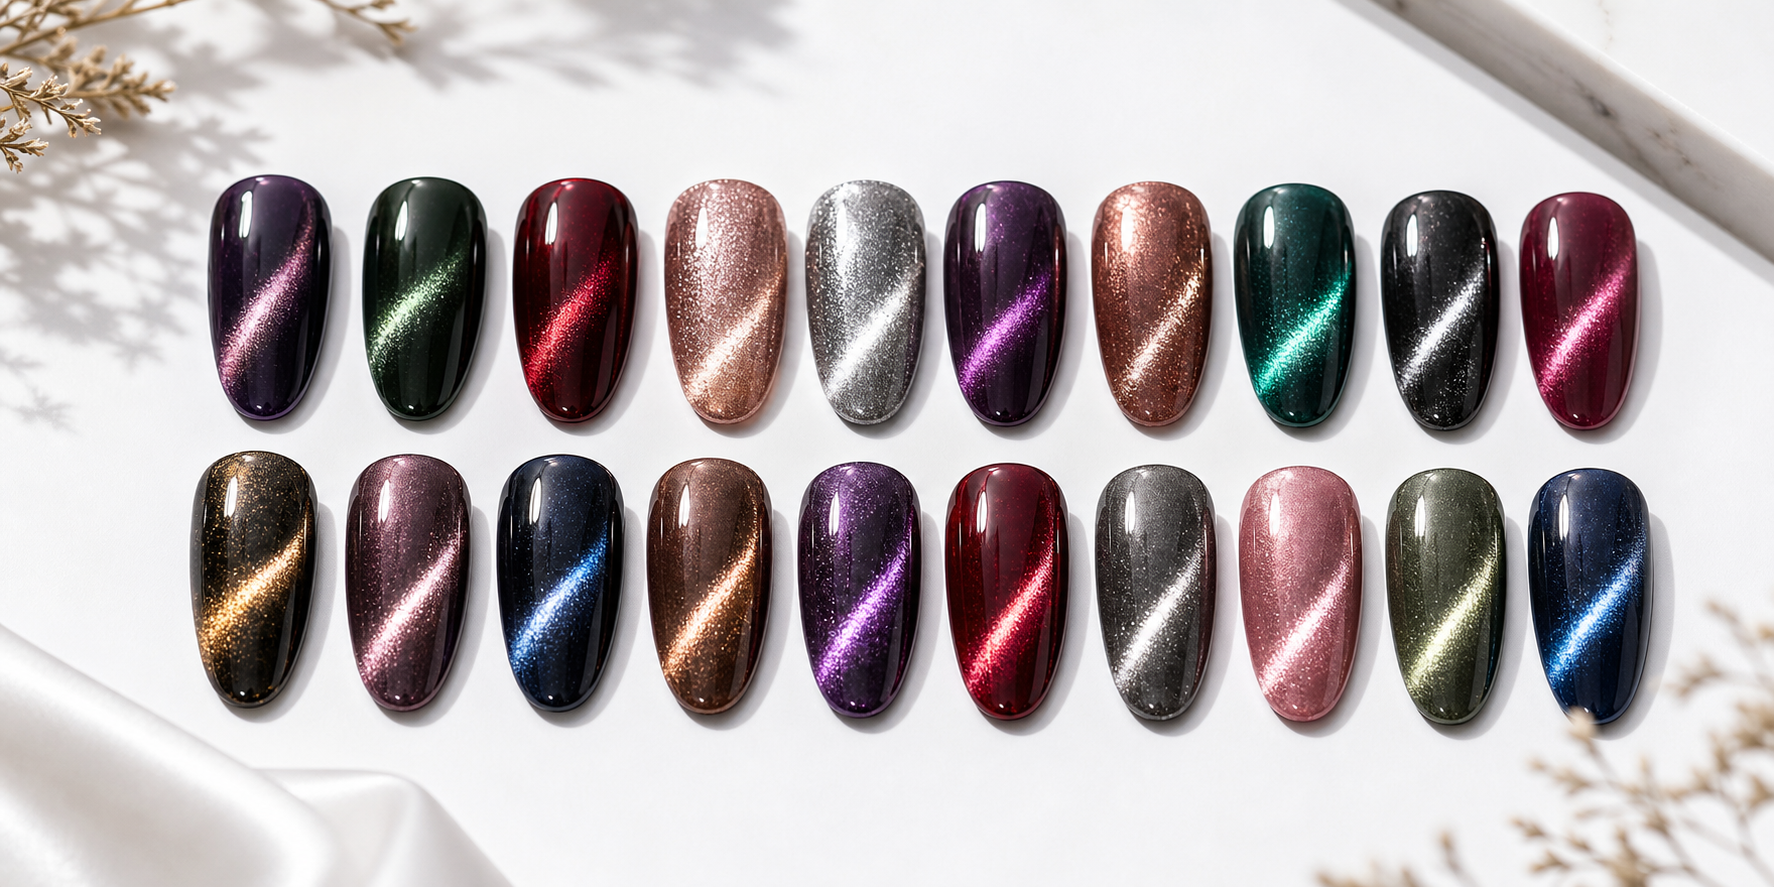
Semi-cured gel nail wraps offer a different approach. The cat eye effect is baked into each wrap at the factory. No magnet is needed. The shimmer line is already perfect before the wrap touches the nail.
Hello Nails offers a range of shades in the cat eye collection. Each wrap delivers a consistent, professional-looking result every time. The effect is built into the gel layer itself.
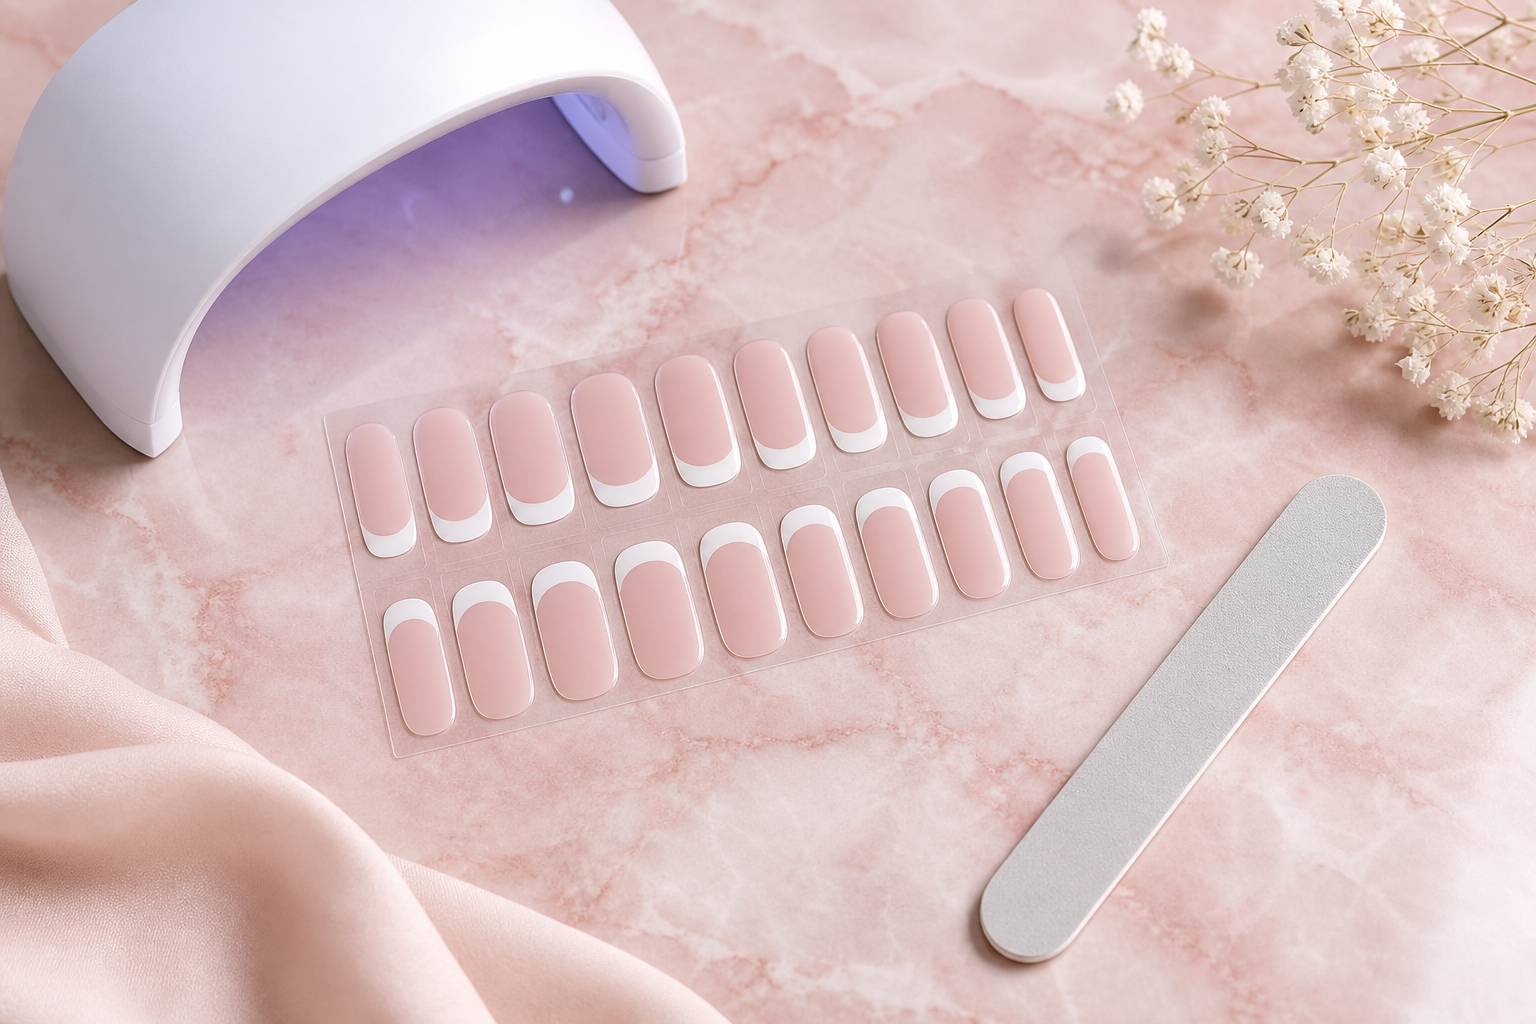
These wraps are HEMA-free, making them suitable for sensitive nails. They last 2 to 3 weeks with proper application. A UV lamp cures them in just 60 seconds.
Step-by-Step Application Guide
Follow these steps for the best results:
1. Prep the Nails
Start with clean, dry nails. Remove any old polish. File the nails to the desired shape. Push back the cuticles gently with a cuticle stick. Clean the nail surface with alcohol to remove oils and debris. Proper prep is essential for long-lasting wear.
2. Select the Right Size Wrap
Choose a wrap that matches the width of each nail. The wrap should cover the nail from sidewall to sidewall without overlapping the skin. If a wrap is too wide, it can cause lifting. If it is too small, it will not cover the full nail surface.
3. Apply to the Nail
Peel the wrap from the backing sheet. Align the top edge with the cuticle line. Press the wrap onto the nail starting from the centre and smoothing outward. Remove any air bubbles by pressing firmly from the centre to the edges. Ensure the wrap adheres fully to the nail surface.
4. Cure Under UV Light
Place the hand under a UV lamp. Cure for 60 seconds. The gel will harden completely during this time. Make sure all nails are fully cured before moving to the next step.
5. File Off Excess
Use a nail file to remove the excess wrap from the free edge. File in a downward motion to avoid lifting the wrap. File until the edge is smooth and flush with the natural nail.
6. Optional: Top Coat for Extra Shine
Apply a thin layer of top coat if extra shine is desired. Cure for another 60 seconds. This step is optional since the wraps already have a glossy finish.
Tips for Best Results
Proper nail prep is the foundation of long-lasting wear. Clean nails free of oils ensure better adhesion. Pushing back cuticles prevents the wrap from lifting at the base.
Select the correct size for each nail. Nails vary in width, so different sizes may be needed. Test the wrap on the nail before peeling it from the backing.
Cure for the full 60 seconds. Undercuring can lead to soft spots or premature lifting. Use a quality UV lamp with adequate wattage.
Store wraps in a cool, dry place. Heat and humidity can affect the adhesive. Keep the packaging sealed when not in use.
What You Need
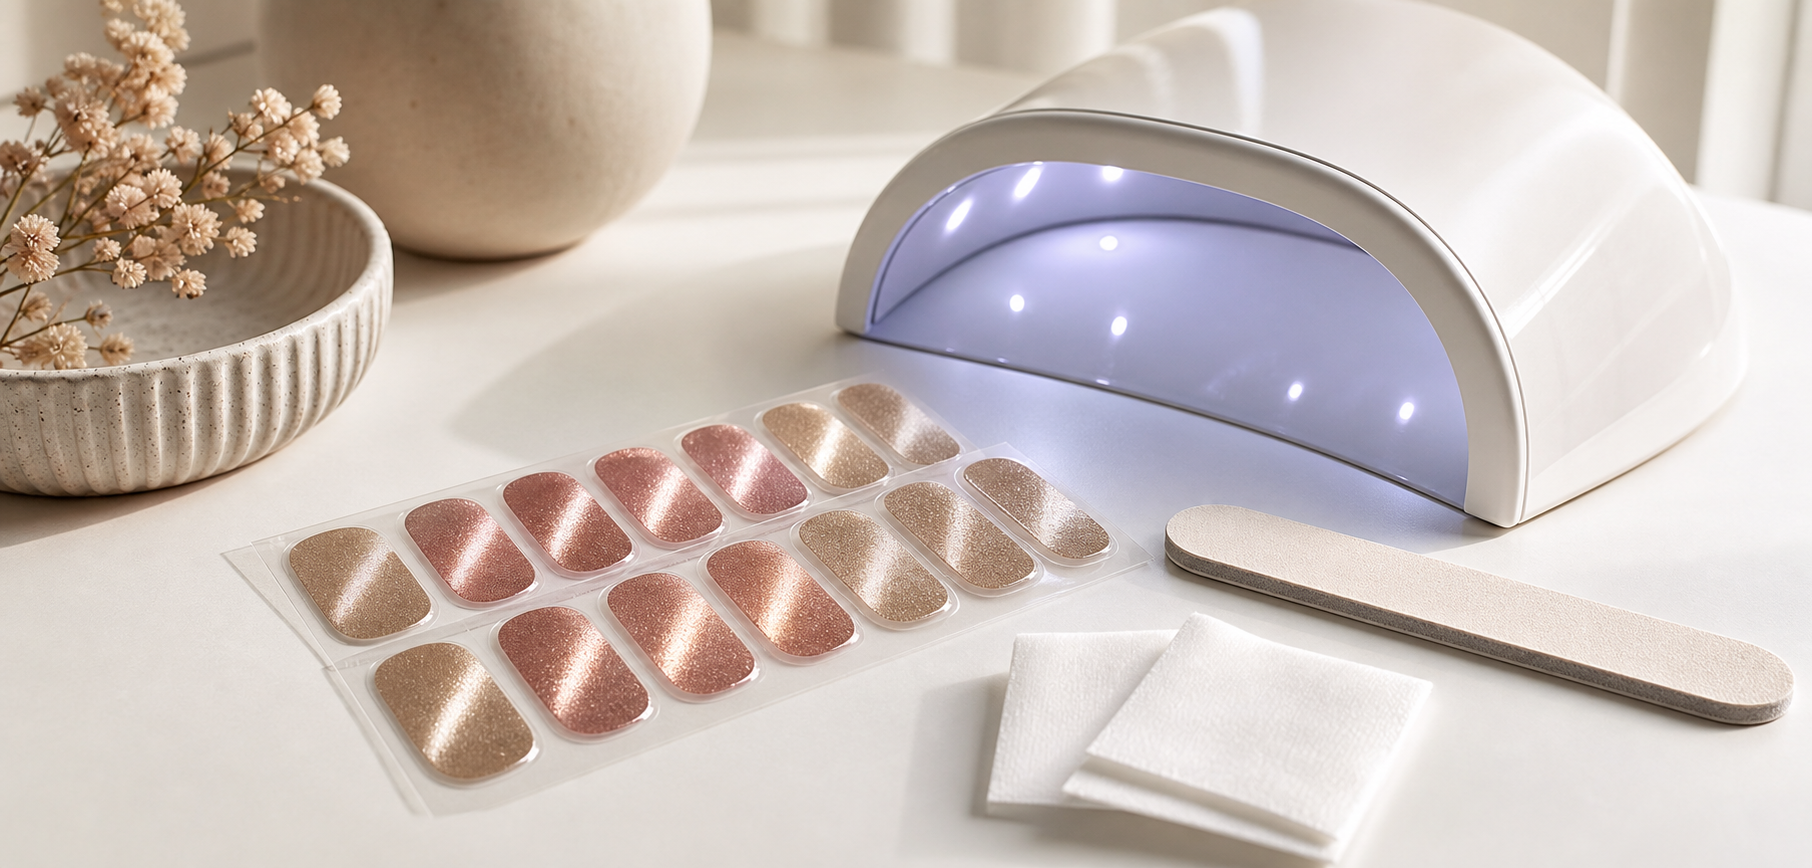
To get started with cat eye nails at home, the following items are required:
- Starter kit: Includes the basic tools for application. See the starter kit.
- UV lamp: Essential for curing the gel wraps. Any standard UV nail lamp will work.
- Cat eye wraps: Choose from the cat eye collection with 20 available shades.
Additional options for variety packs include our 4 for 3 deal
These bundles offer flexibility for trying different shades or stocking up on favourites.
Troubleshooting
Wrinkling
Wrinkling occurs when the wrap is too large for the nail or when it is not smoothed properly during application. To fix this, select a smaller size and press firmly from the centre outward to eliminate air pockets.
Lifting
Lifting at the edges usually means the nail was not prepped correctly. Oils or moisture on the nail surface prevent proper adhesion. Ensure nails are clean and dry before application. Push back cuticles fully to create a smooth base.
Sizing Issues
If a wrap does not fit any nail perfectly, it is acceptable to overlap slightly on one side. The wrap can be trimmed after application. Never force a wrap that is too wide, as this will cause lifting.
Final Thoughts
Cat eye nails without a magnet are achievable with semi-cured gel wraps. The factory-applied shimmer eliminates the guesswork of magnetic polish. Results are consistent, professional, and long-lasting.
With proper prep and the right tools, anyone can achieve salon-quality cat eye nails at home. The process is straightforward, and the results speak for themselves.
Explore the full cat eye collection to find the perfect shade for any occasion.