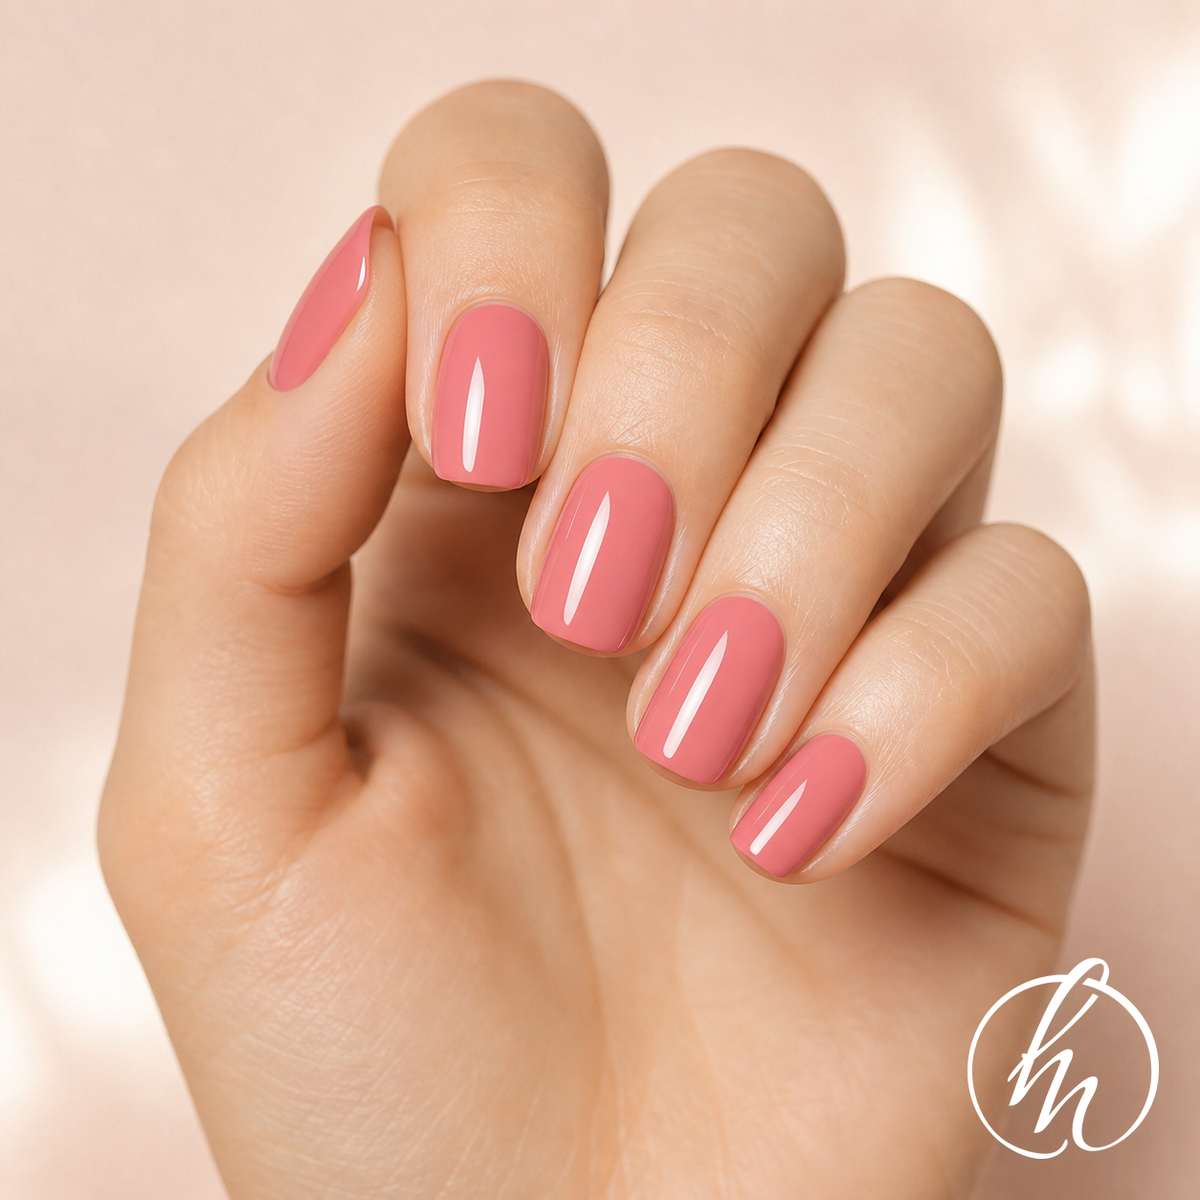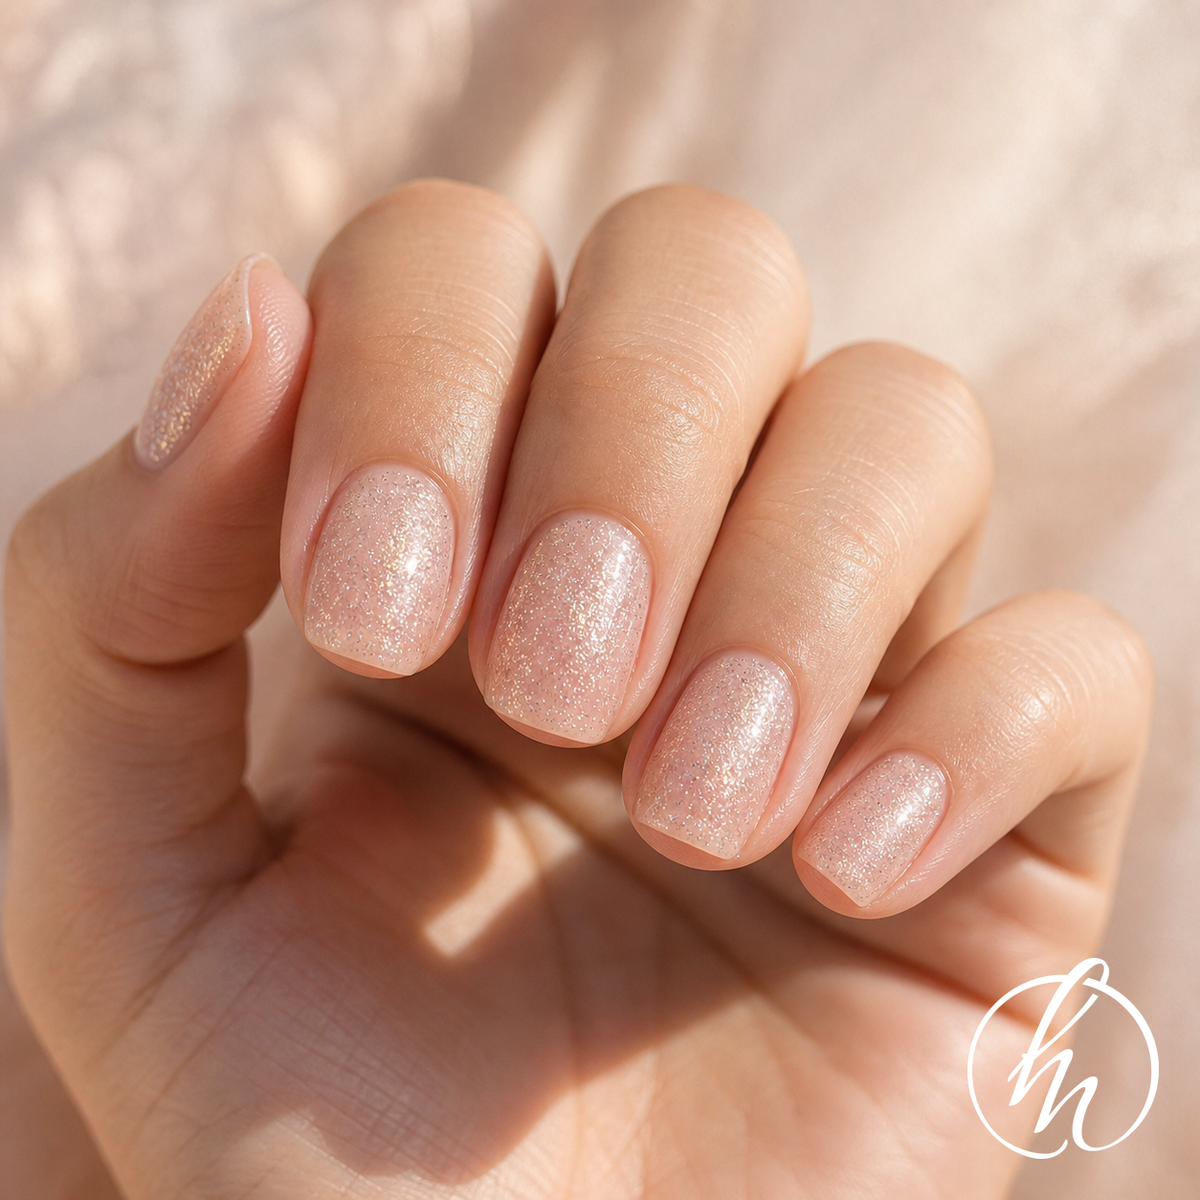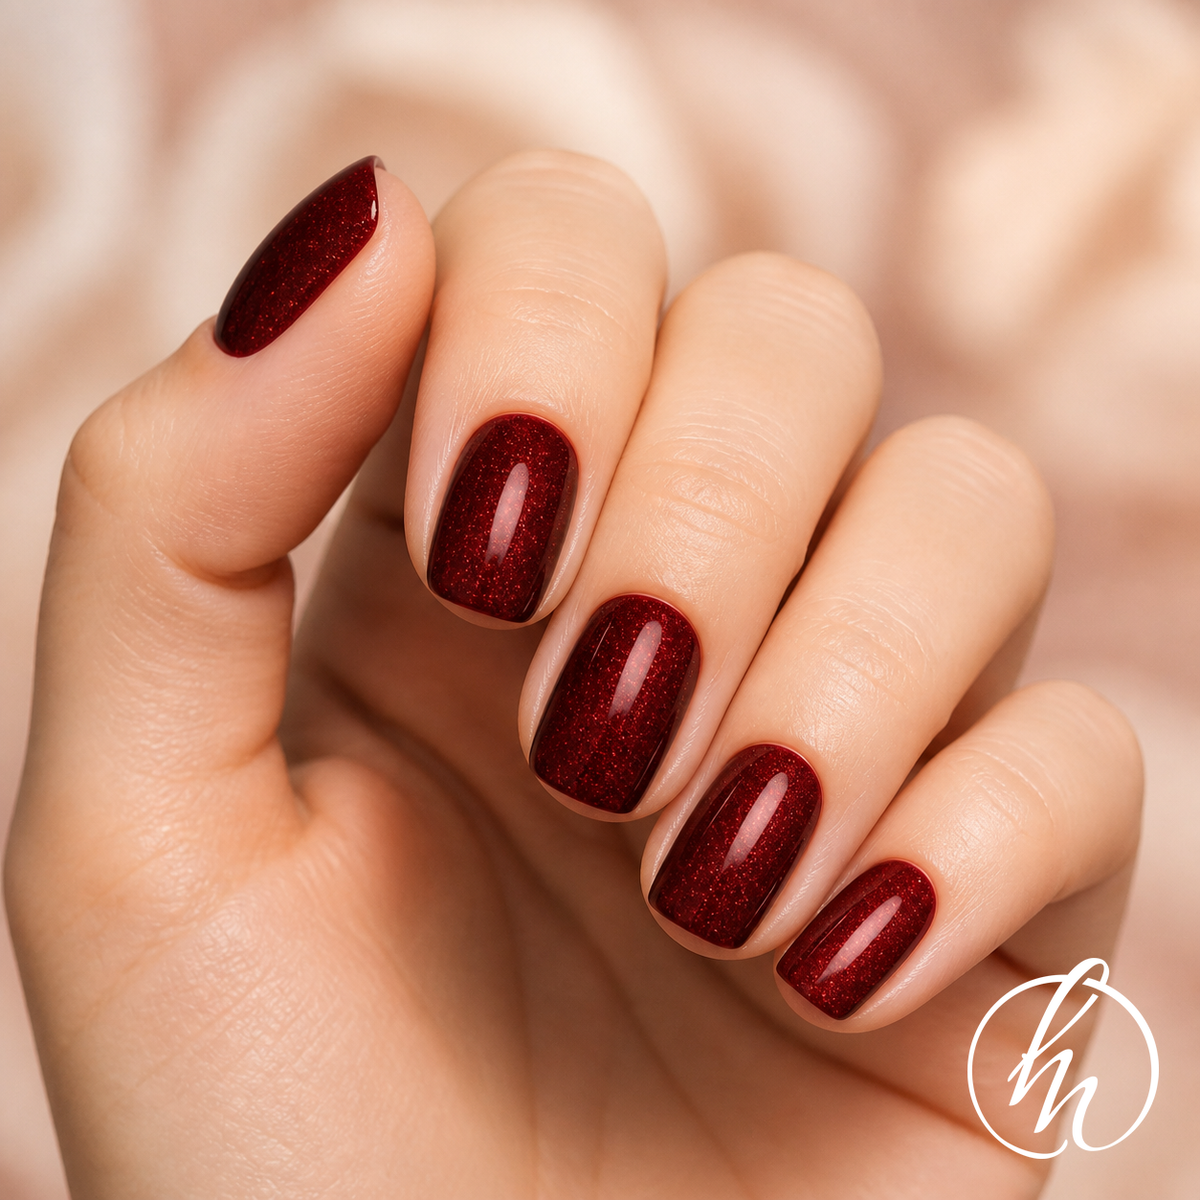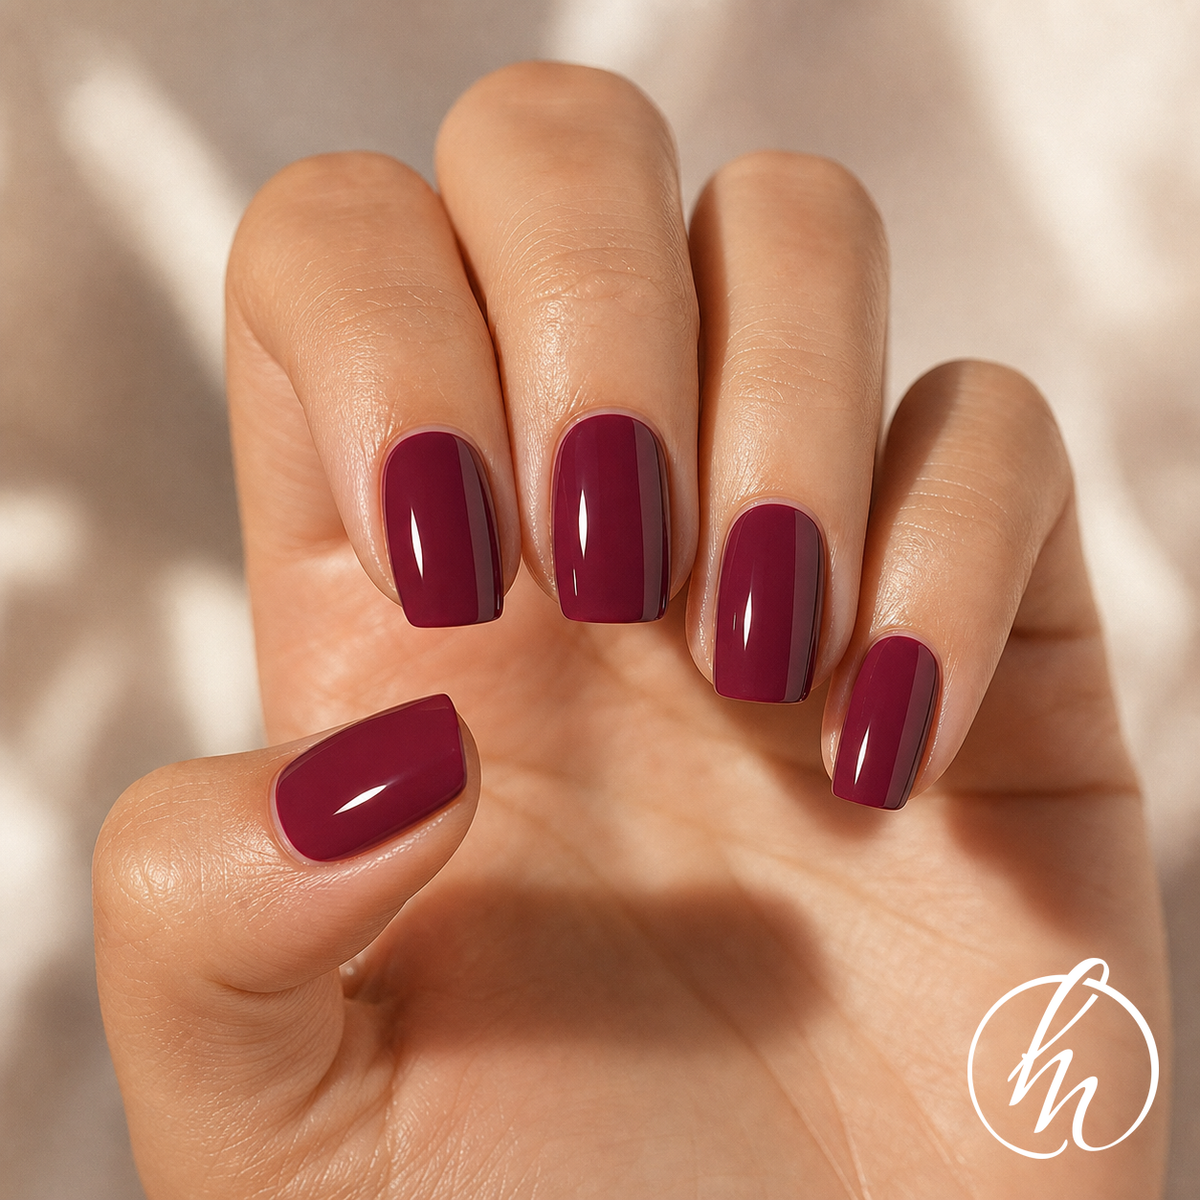


How to Apply Non-UV Gel Nail Wraps
Before You Start
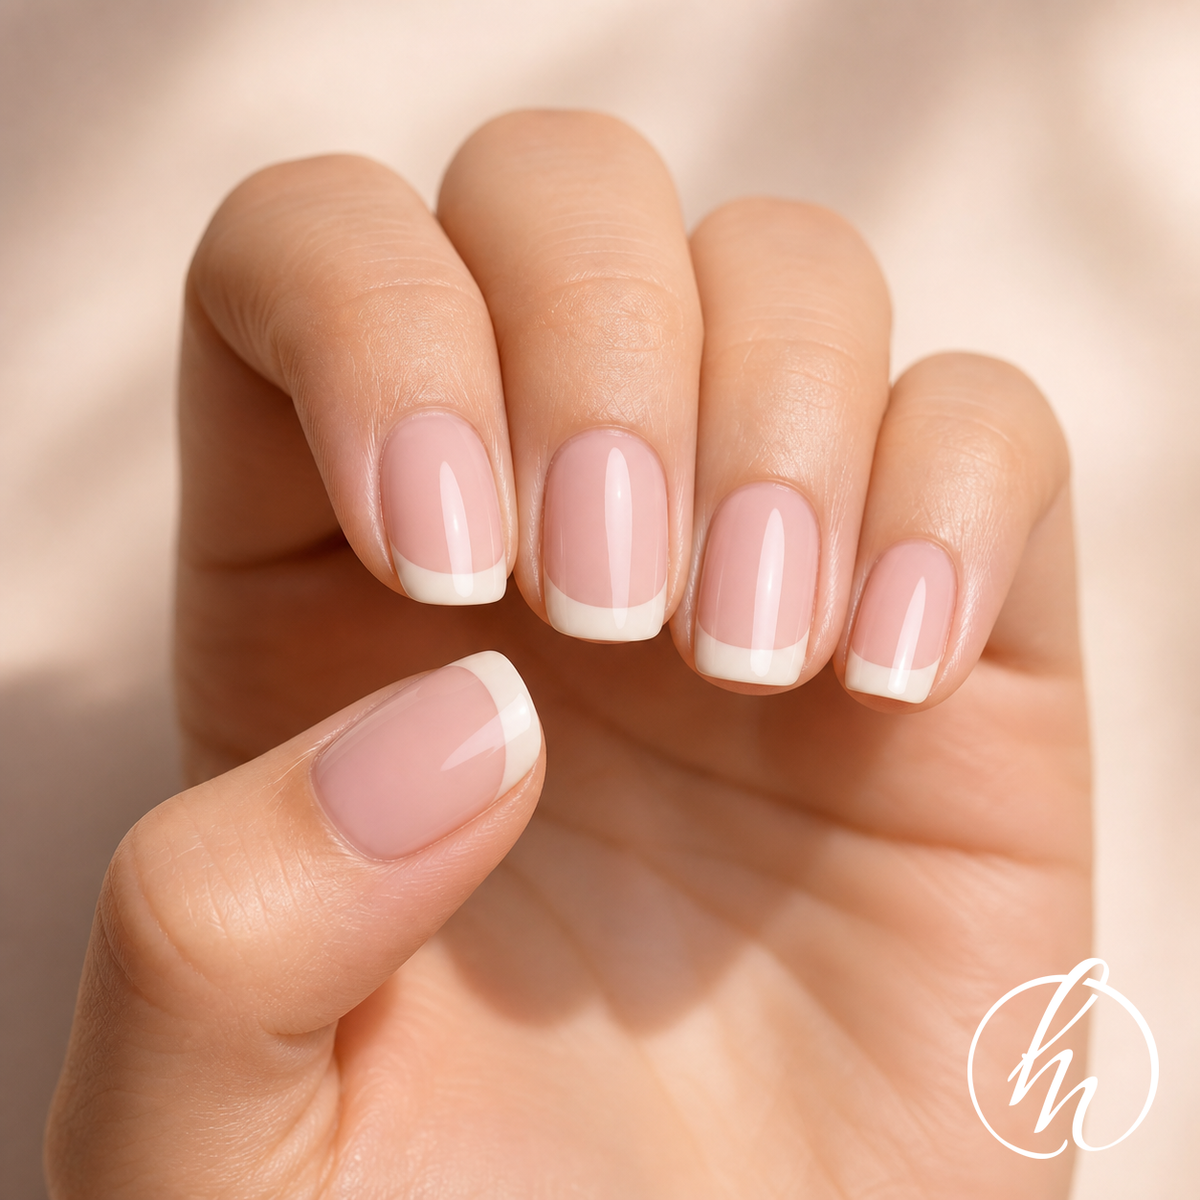
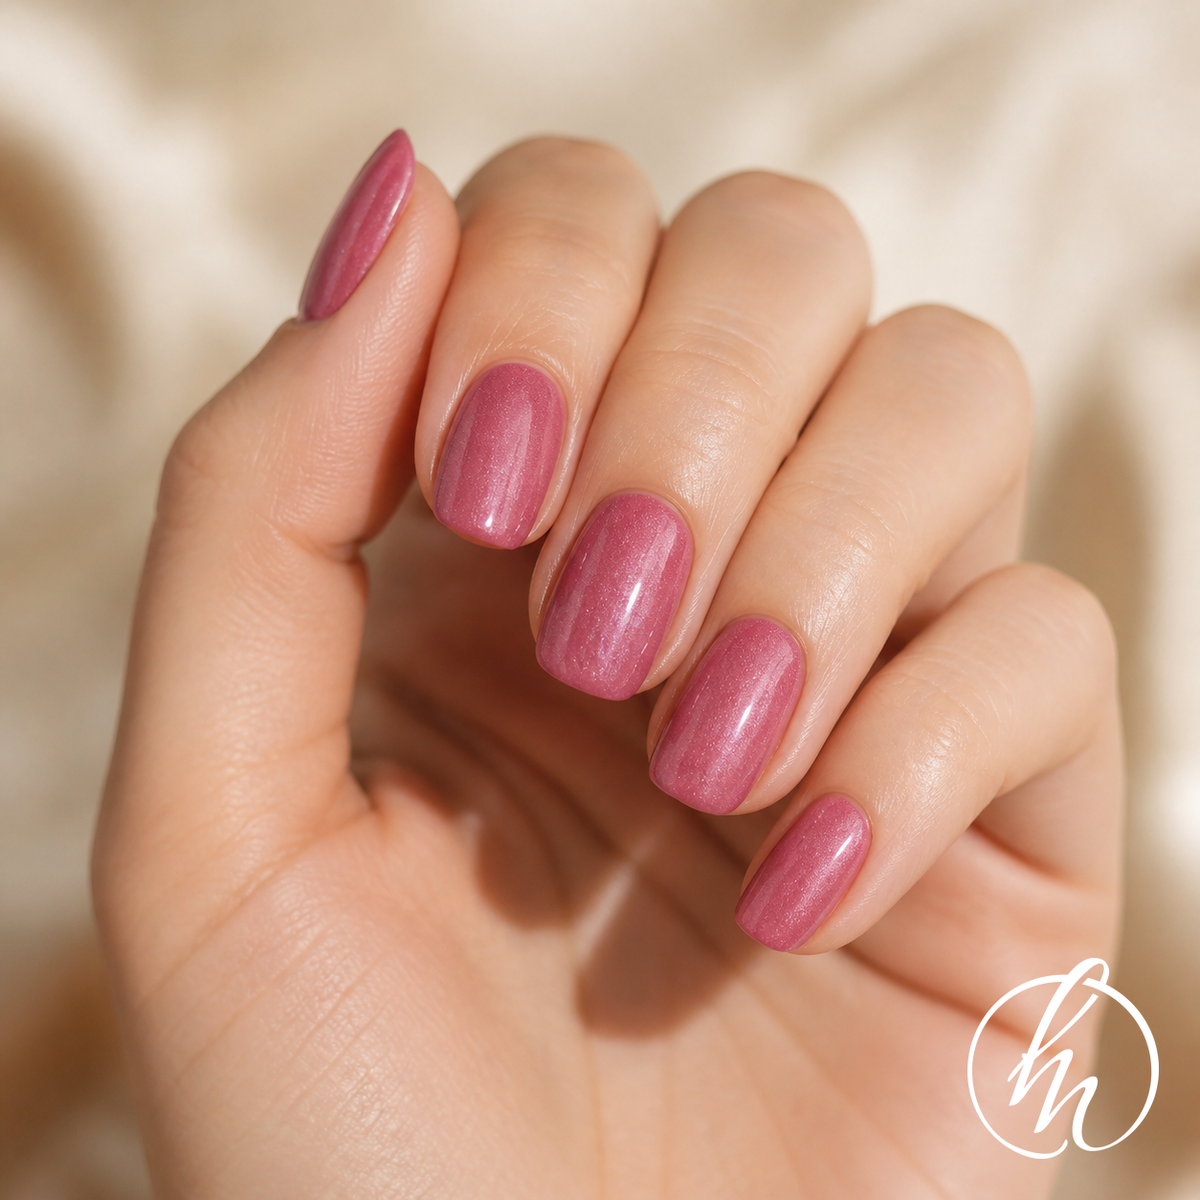
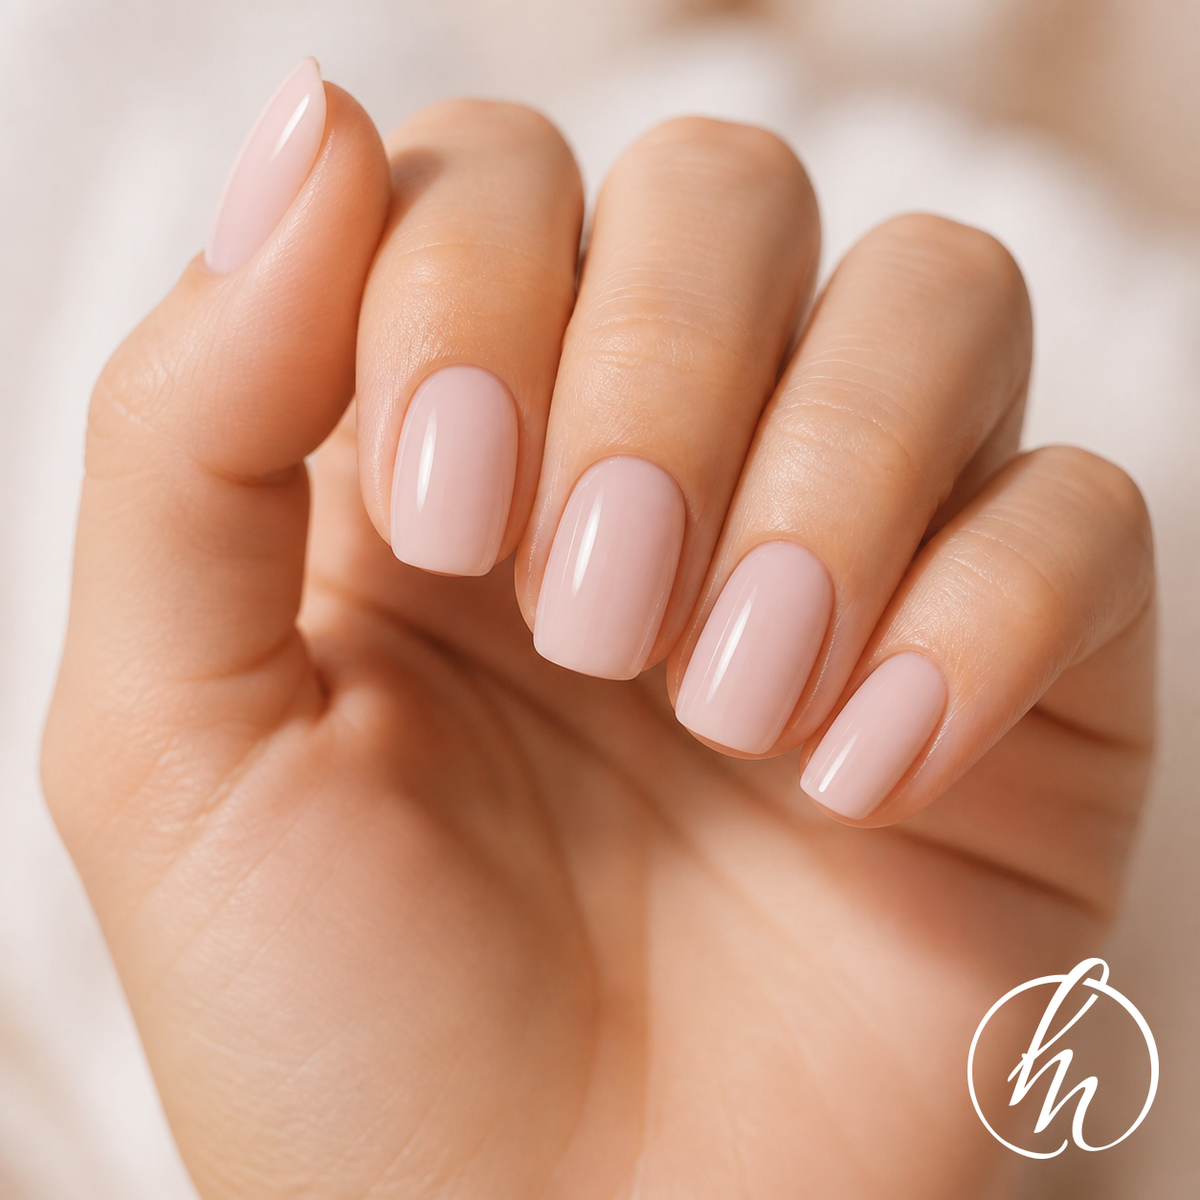
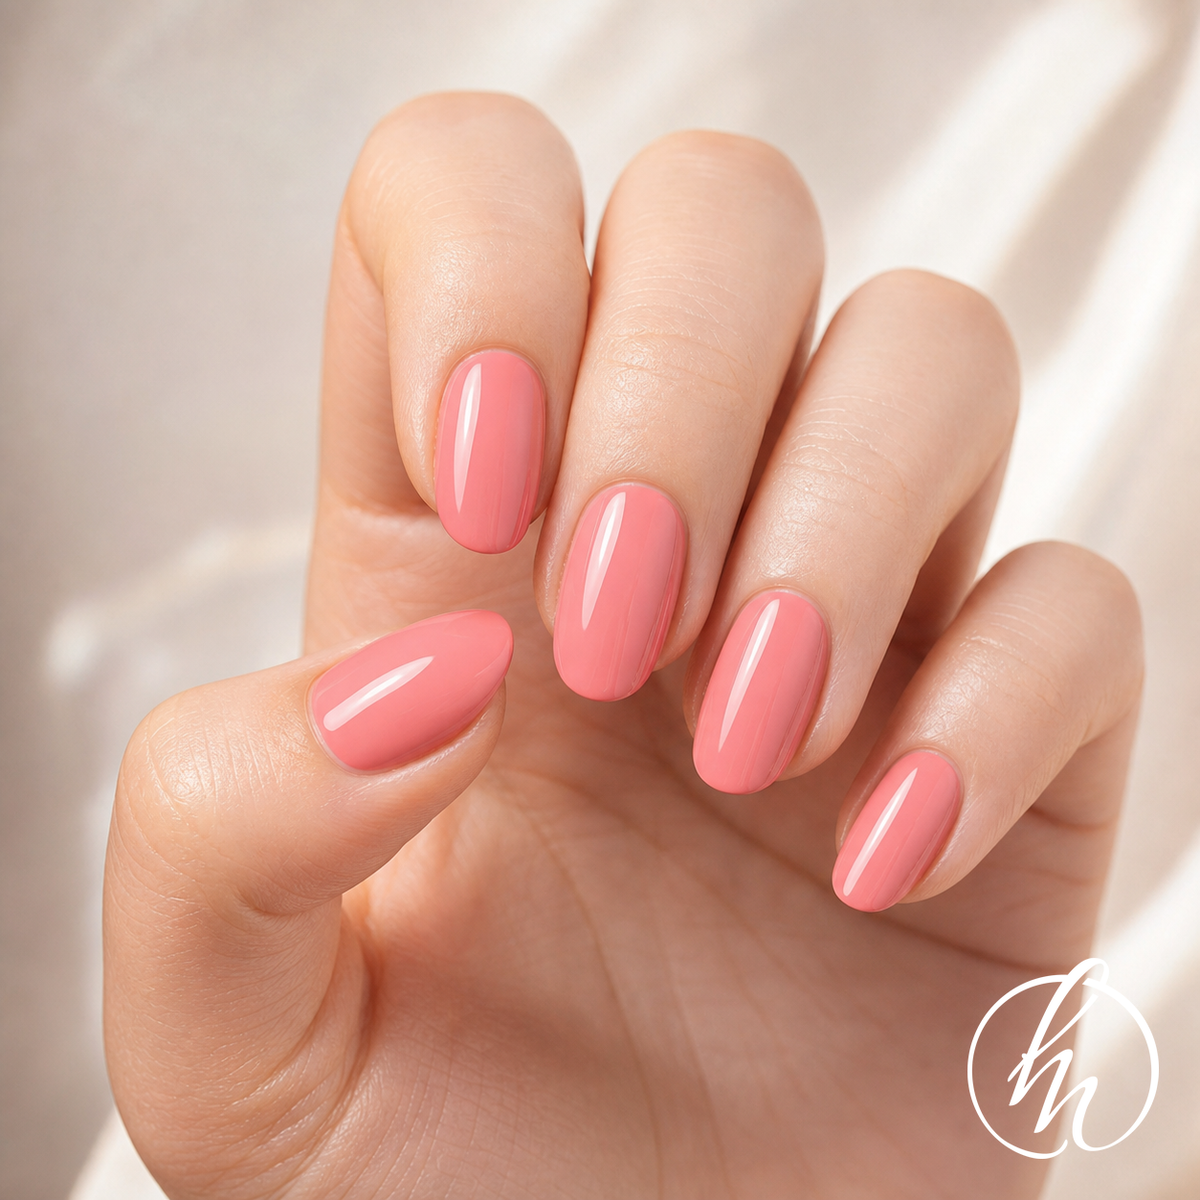
Non UV gel wraps do not need a UV lamp. They are ready to wear the moment you open the pack. No curing, no waiting, no equipment. Just prep, apply, smooth down, and you are done.
⚠️ Important: They cannot be used as extensions. They need the support of your natural nail underneath and will break if you make them longer than your nail.
These should last up to 2 weeks if correctly applied and depending on how careful you are with your nails. Like all products, they have a shelf-life of 9 months for best results.
✅ Quick Checklist
Done this before? Here is a quick reminder:
- ☐ Clean nails thoroughly — any oil or residue prevents adhesion
- ☐ Warm wraps + hands with a hairdryer — cold is the #1 cause of lifting
- ☐ Apply close to cuticle, not on or touching it
- ☐ Smooth edges firmly — run your thumb over the tip several times
- ☐ File the free edge downwards for a seamless finish
- ☐ Avoid water for the first 2 hours
1. Prep Your Nails
Make sure your nails and nail bed are totally clean from any cuticle residue or oil before applying your wraps. We stock packs of 100 alcohol wipes on the store which are perfect for this.
2. Choose & Prepare Your Wraps
To get a better fit you can cut your wraps or gently stretch them with your fingers before applying. Use our sizing chart to find the right fit. It is better to go slightly smaller than too large — a wrap that overlaps your cuticle or sidewall will lift faster.
Warming them (and your hands) slightly with a hairdryer can help to make the adhesive stickier, especially if it is cold or very warm, or the wrap itself has been stored somewhere cold. I do this every time I apply.
3. Apply
Make sure the wraps are placed close to your cuticle and not on or touching it. Once applied, smooth each wrap firmly onto your nail, paying extra attention to the edges. Run your thumb over the tip and sides a few times to seal them down.
4. Finish
File the free edge of the wrap downwards after application for a seamless finish. A gentle angle from the top of your nail towards the tip helps prevent lifting.
Avoid contact with water during the first 2 hours after application to let the adhesive set fully. Your wraps will continue to settle and harden slightly over the first 24 hours. They may feel a little flexible at first, which is normal.
To protect your nails when they are done I recommend wearing gloves for washing up.
Aftercare & Removal
Store unused wraps in the original black packaging, sealed with tape, and in a drawer away from direct heat and sunlight. Keep away from direct sunlight.
To remove them please do not just peel them off, as you may damage your nails. Use a cuticle stick with cuticle oil and gently work them away from your nail.
🔧 Troubleshooting
They are lifting at the edges. This is the most common issue with non UV wraps. Make sure your nails are completely clean and dry before applying. After application, press the edges firmly and run your thumb over them several times. If the wrap is cold, warm it with a hairdryer first to make it more pliable. A light file across the free edge can also help stop them catching.
They do not stick. Warm them with a hairdryer before application and ensure they adhere. Make sure your nails and nail bed are totally clean from any cuticle residue or oil before applying. Do not touch them unnecessarily while applying. In colder weather, warming the wraps first really helps. It makes them a lot stickier.
They are not pliable enough. Warm them with a hairdryer to soften them before application.
The sizes do not match my nails. Use our sizing chart to find the right fit. You can also cut wraps down to size or gently stretch them to fit. It is better to go slightly smaller than too large. A wrap that overlaps your cuticle or sidewall will lift faster.
Following all of this advice will help to achieve a good application that lasts.
Featured collection
Non UV gel wraps