
DIY Nail Extensions at Home: A Complete Guide
DIY Nail Extensions at Home
Skipping the salon but still want longer nails? You're in luck — there are more ways to get nail extensions at home than ever before.
Gone are the days when your only options were glue-on press-ons (that fall off by tea-time) or booking a £45 appointment with a nail technician. Today's DIY nail extensions at home range from simple stick-on strips to semi-cured gel wraps that cure under a UV lamp. Each method has its own skill level, cost, and longevity, and the best choice really depends on what you're after.
In this guide, we'll walk through the main options, what you'll need for each, and which method is genuinely easiest for beginners.
The Options Overview
There are four main ways to get nail extensions at home:
1. Press-On Nails
The classic option. Pre-shaped artificial nails with adhesive backing or glue. You pick a size, stick them on, and you're done.
Pros: Instant, no tools needed, huge variety of designs, cheapest option (£3–£10 per set)
Cons: Short lifespan (1–3 days with sticky tabs, up to a week with glue), can pop off easily, limited to pre-made lengths
2. Gel Tip Systems (Apres Gel-X, Mylee, etc.)
Full-cover gel tips that you size to each nail, apply with gel glue, and cure under a UV lamp. This is the professional Gel-X method adapted for home use.
Pros: Long-lasting (2–3 weeks), salon-quality results, can be filed and shaped
Cons: Requires skill to avoid bubbles and lifting, messy gel glue, needs UV lamp, expensive (£25–£60 for a kit), steep learning curve
3. Polygel / Builder Gel
A hybrid between acrylic and gel. You apply a bead of polygel over a form or tip, shape it, and cure under UV.
Pros: Very durable, can build custom lengths and shapes
Cons: Highest skill requirement, messy application, requires practice to get right, needs UV lamp and forms/tips
4. Gel Wrap Extensions (The New Option)
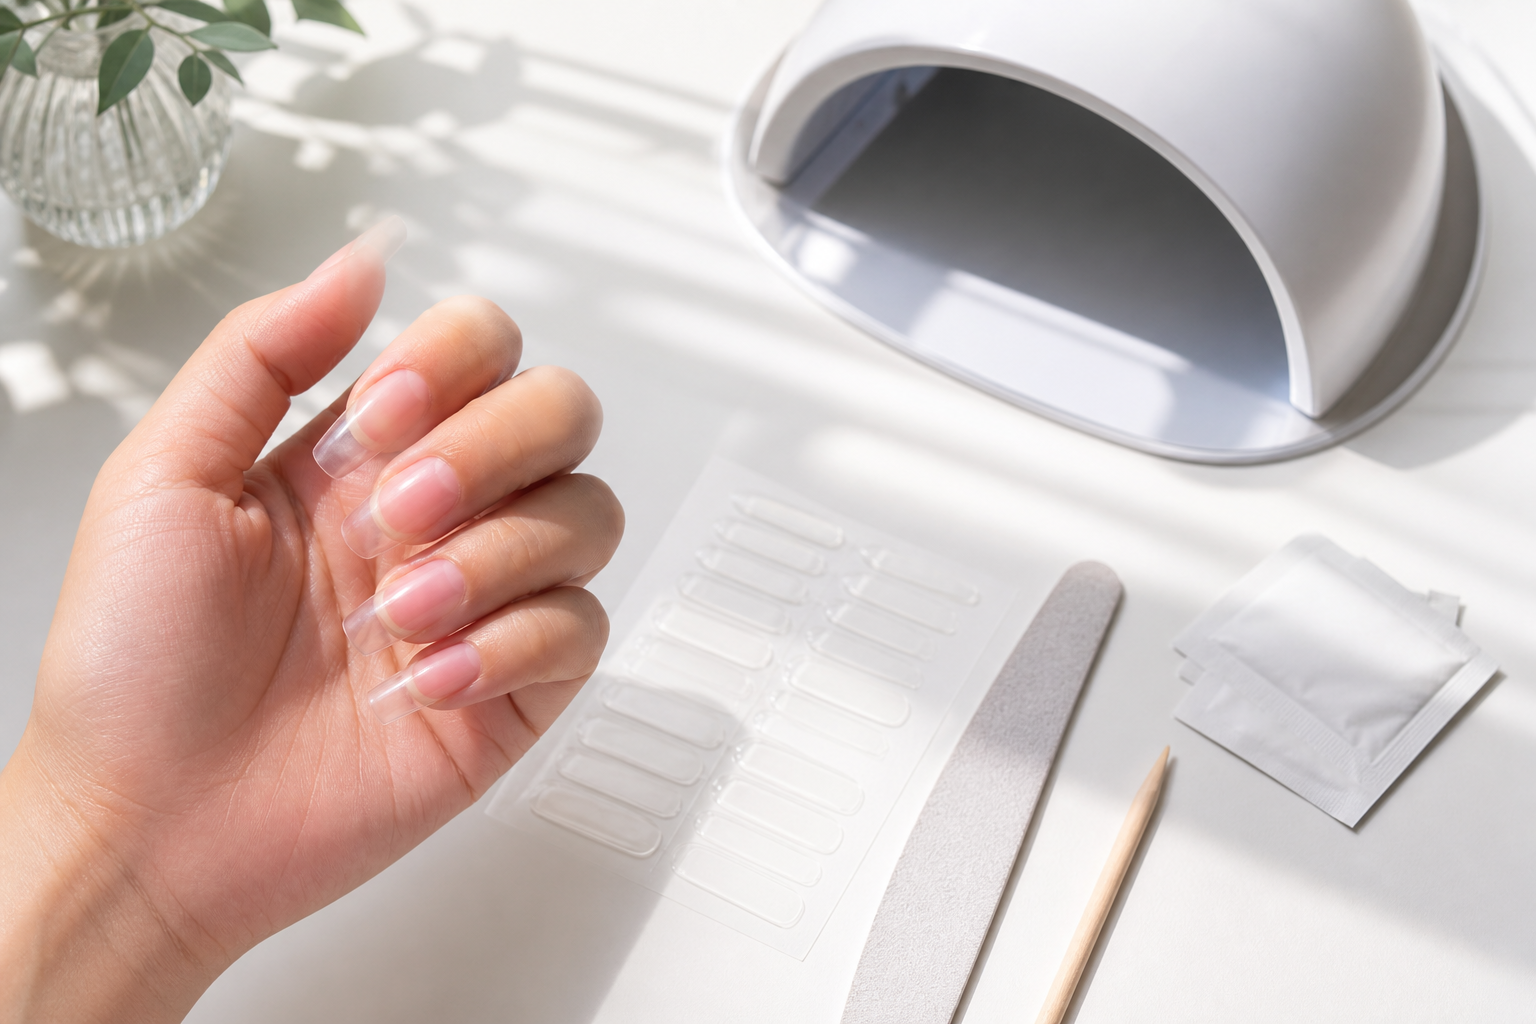
Semi-cured gel wraps that you apply like a standard nail wrap, then seal underneath with a UV top coat pen. The sealant hardens the wrap into a rigid extension.
Pros: Easiest method (no sizing individual tips, no messy glue), long-lasting (2+ weeks), uses your existing UV lamp if you have one, lower skill floor
Cons: Newer product (limited brands), requires UV lamp, still emerging in the UK market
What You Actually Need
Here's a quick breakdown of equipment, skill level, and time required for each method:
| Method | Equipment Needed | Skill Level | Time Required |
|---|---|---|---|
| Press-On Nails | Just the nails + adhesive | Beginner | 10–15 minutes |
| Gel Tip Systems | Gel tips, gel glue, UV lamp, file, primer/bonder | Intermediate | 45–60 minutes |
| Polygel/Builder Gel | Polygel, forms or tips, UV lamp, brush, primer | Advanced | 60–90 minutes |
| Gel Wrap Extensions | Gel wraps, sealant pen, UV lamp | Beginner | 20–30 minutes |
The takeaway: If you're new to nail extensions at home, press-ons and gel wraps are your best starting points. Gel tips and polygel are better once you've built some confidence.
Step-by-Step Overview (At a Glance)
You don't need a full tutorial to understand how each method works. Here's the gist:
Press-On Nails
- Prep your natural nails (push back cuticles, lightly buff)
- Size each press-on to your nails
- Apply adhesive (sticky tabs or glue)
- Press on and hold for 10 seconds
That's it. No curing, no filing, no mess.
Gel Tip Systems (e.g., Apres Gel-X)
- Prep nails and apply primer/bonder
- Size each full-cover gel tip to your nails
- Apply a bead of gel glue to the tip
- Press the tip onto your nail at a 45-degree angle
- Cure under UV lamp for 60 seconds
- File and shape the extension
- Apply your gel colour and top coat
This is essentially a home salon experience — powerful but requires patience and practice.
Polygel / Builder Gel
- Prep nails and apply primer
- Place a form under each nail (or use a tip)
- Scoop a bead of polygel and place it over your natural nail
- Use a wet brush to shape the extension
- Cure under UV lamp
- Remove the form, file and shape
- Apply colour and top coat
This is the most technical method — think of it as sculpting your nails from scratch.
Gel Wrap Extensions
- Prep your natural nails (push back cuticles, lightly buff)
- Apply the semi-cured gel wrap to your nail (like a standard nail wrap)
- Use the sealant pen to apply UV top coat underneath the wrap
- Cure under UV lamp for 60 seconds
- File the edge for a clean finish
The sealant pen is the key — it turns a flexible wrap into a rigid extension. No sizing individual tips, no messy glue.
Which Method Wins for Beginners?
If you've never done nail extensions at home before, here's the honest ranking:
- Press-On Nails, Easiest, but shortest lifespan
- Gel Wrap Extensions, Almost as easy, but lasts 2+ weeks
- Gel Tip Systems, Doable with practice, but there's a learning curve
- Polygel/Builder Gel, Not recommended for beginners
Gel wrap extensions are the sweet spot for first-timers who want something that actually lasts. They're easier than gel tips because you're not sizing individual tips or dealing with messy glue. But unlike press-ons, they cure into a rigid extension that won't pop off after a few days.
The only catch? Gel wrap extensions are a newer product in the UK market, so they're not yet widely available.
Quick Comparison Table
| Feature | Press-Ons | Gel Tips | Polygel | Gel Wraps |
|---|---|---|---|---|
| Skill Level | Beginner | Intermediate | Advanced | Beginner |
| Time | 10–15 min | 45–60 min | 60–90 min | 20–30 min |
| Lifespan | 1–7 days | 2–3 weeks | 3–4 weeks | 2+ weeks |
| Cost | £3–£10 | £25–£60 | £20–£40 | £16–£25 |
| Equipment | None | Lamp, glue, tips | Lamp, forms, polygel | Lamp, sealant pen |
| Best For | Occasional wear, variety | Salon results at home | Custom shapes/lengths | Easy, long-lasting |
Ready to Try Something New?
If you're tired of press-ons that fall off before the weekend, or you've been put off by the complexity of gel tip systems, gel wrap extensions might be the answer.
We're working on bringing our own version to the UK, semi-cured gel wraps with a sealant pen that's designed for first-timers. No sizing, no mess, just a simple wrap-and-seal process that gives you real length without the salon price tag.
Want early access? Click to join the waitlist — a quick popup will open. We'll let you know when they're available with launch-day pricing.
In the meantime, if you're looking for great non-UV nail wraps (the kind that don't extend length but are perfect for a quick colour change), check out our Semi-Cured Gel Wraps collection, they're a favourite for easy, damage-free manicures.
Have questions about DIY nail extensions at home? Drop a comment below or get in touch, we're happy to help you find the right method for your nails and lifestyle.