
How to Apply French Tip Nail Wraps at Home
# How to Apply French Tip Nail Wraps at Home
A french manicure at home sounds simple. Paint the tips white, add a sheer layer, done. Anyone who has tried knows the truth. One shaky hand and the white line is crooked. Too thick and it looks lumpy. Too thin and it disappears.
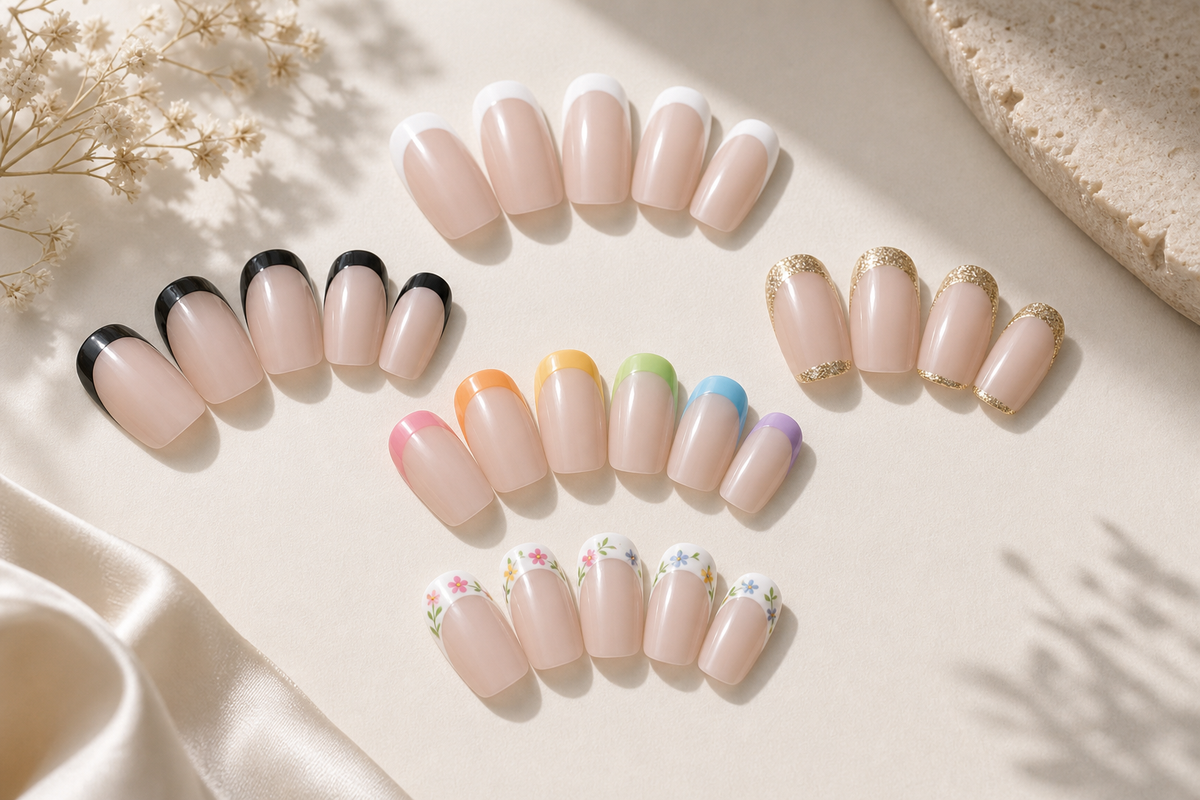
French tip nail wraps solve all of that. The white tip is pre-shaped. The gel is pre-measured. No brush skills required. But alignment is everything. Get the placement right and the result looks salon-grade. Rush it and the gap shows. Here is how to get it right, every time.
What You Need
Before starting, gather the essentials:
- French tip semi-cured gel wraps in your size and style
- A starter kit with a UV lamp, cuticle stick, and file
- A 4 for 3 bundle if you want multiple sets on hand
- Rubbing alcohol or nail cleanser
- Cuticle oil for removal later
That is it. No nail glue. No acetone. No drying time between coats.
Step-by-Step Application Guide
1. Prep Your Nails
Start with clean, dry nails. Remove any old polish. File each nail to your desired shape. Push back cuticles gently with a cuticle stick. Wipe the nail plate with rubbing alcohol to remove oil and dust.
Do not skip this step. Oils on the nail bed stop the wrap from bonding. A clean nail means longer wear.
2. Choose the Right Size
Each set comes with multiple sizes. Hold each wrap against your nail before peeling anything off. The wrap should cover the nail plate from cuticle to tip without overlapping skin. If it sits on the cuticle or touches the sidewalls, go down a size.
For french tips, size matters more than with solid colours. A wrap that is too wide leaves the white tip hanging over the side. Too narrow and the white tip looks undersized.
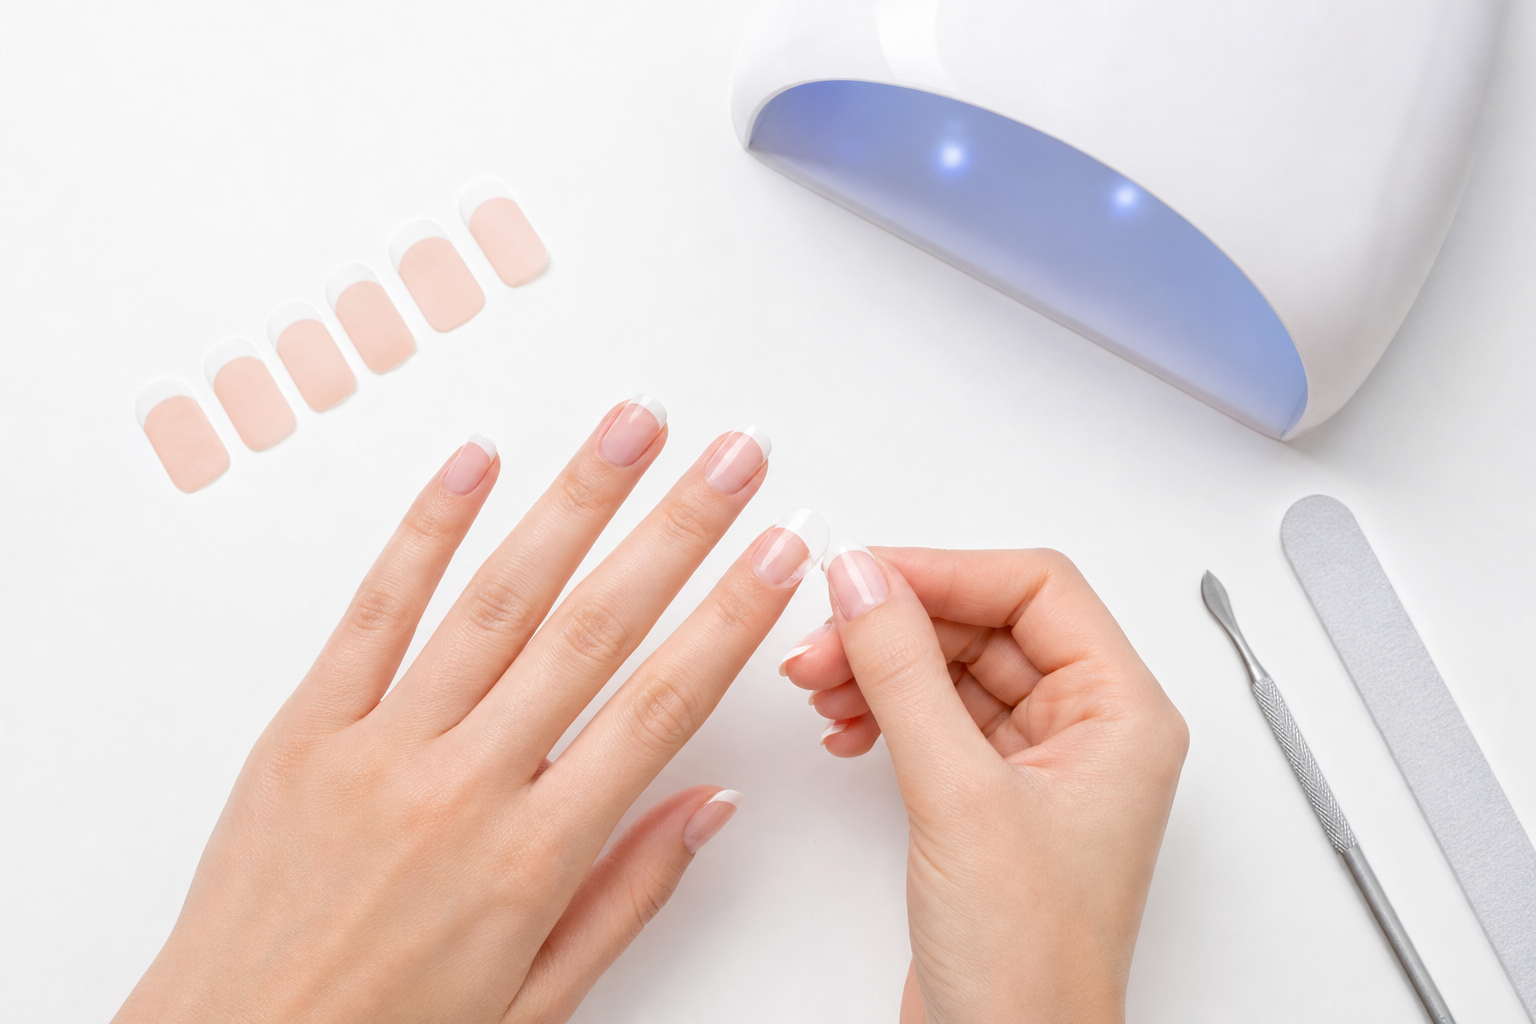
3. Align the White Tip with Your Nail Edge
This is the most important step. Peel the wrap from its backing. Hold it above your nail without touching the surface. Line up the white tip with your natural nail edge. The curve of the white tip should mirror the curve of your free edge.
Take your time here. Hold the wrap in place and check the alignment from multiple angles. Look straight on. Look from the side. The white line should sit exactly where your nail ends.
4. Press from Cuticle Toward Tip
Once aligned, press the wrap onto the nail starting at the cuticle. Smooth it toward the tip in one firm motion. This pushes air out and prevents bubbles. Use your thumb to press firmly across the whole nail.
Pay extra attention to the edges. Run your finger along the sidewalls and the tip to make sure the wrap is fully sealed.
5. Cure Under UV for 60 Seconds
Place your hand under the UV lamp. Cure for 60 seconds. The wrap hardens and bonds to your nail. You will feel the difference. Before curing the wrap is flexible. After curing it is solid.
Cure each nail individually. Do not try to cure multiple fingers at once unless your lamp is wide enough to cover them evenly.
6. File Off the Excess
After curing, the wrap is hard. Use the file to remove the excess length at the tip. File in one direction from the underside of the nail. Do not saw back and forth. A few gentle strokes is all it takes.
Wipe away the dust with a clean cloth. Your french manicure at home is complete.
Pro Tips for Perfect Alignment
Hold before peeling. Always hold the wrap against your nail while it is still on the backing. Check the size and the position of the white tip. Only peel when you are sure. Trim from the tip side. If the white tip is slightly too long, trim it before peeling. Use small nail scissors. Cut a tiny amount from the tip edge. This keeps the white curve intact. Work on one nail at a time. Do not peel all ten wraps at once. The gel can collect dust or dry out. Peel, align, press, cure. Move to the next nail. Use natural light. Fluorescent or yellow lighting can distort how the white tip looks against your nail. Natural daylight gives the truest view.Troubleshooting
Gap between the white tip and your nail edge. This is the most common issue. The wrap was placed too far back. Remove it and try again with a fresh wrap. Align the white tip slightly past your nail edge rather than behind it. Bubbles under the wrap. Bubbles happen when air gets trapped during pressing. Lift the wrap gently from one side and press again from the centre outward. Cure immediately after smoothing. The wrap is too wide for your nail. Go down a size. If the next size is too narrow, file the side edges of the wider wrap before peeling. File gently so the white tip shape stays clean. The wrap lifts after a day. This usually means the nail was not fully clean or the wrap was not pressed firmly at the edges. For the next application, wipe nails with alcohol twice and press edges with extra care.How to Remove
When it is time for a change, do not peel or soak in acetone. Apply cuticle oil generously around the edges of the wrap. Let it soak in for a few minutes. The wrap lifts away gently without damaging your natural nail.
For the full visual guide, see the french tip application page.
A perfect french manicure at home is not about steady hands. It is about good prep, careful alignment, and the right tools. With french tip wraps, anyone can get the look.